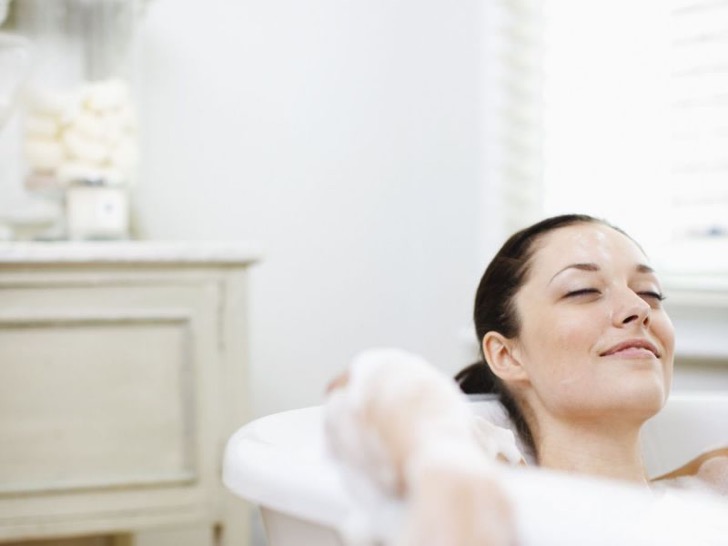
Is there anything more soothing than a nice hot bath after a stressful day? Yes….it’s a hot bath with bombs! To soak away, all you have to do is to toss in a few scented bath bombs! Once you finish this DIY tutorial, you will be fully able to enjoy an inexpensive yet luxurious bath time.
Sponsored Links
What are the benefits of homemade organic bath bombs?
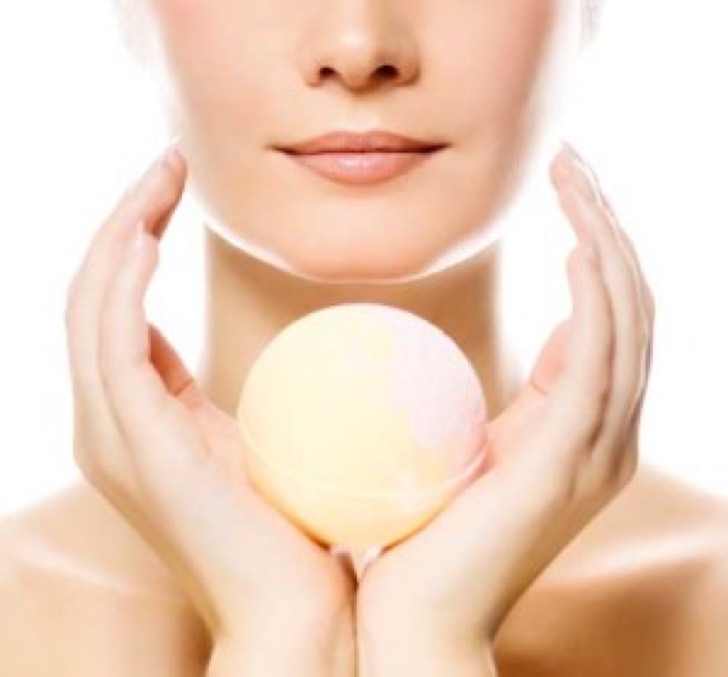
The benefits just never stop. These cute babies are not only designed to give you a fun and cozy soak in the tub. They are also added with two key components which are extremely beneficial to your skin and body.
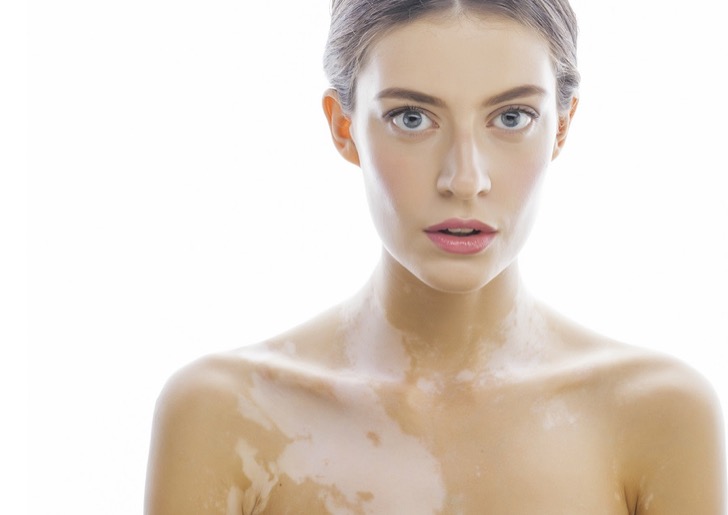
Organic bath bombs are a fantastic remedy for treating uneven skin, while also brightening skin as they contain baking soda. They not only get your skin nourished after cleaning your dead skin cells, but also give you a good balance on the skin php level. What’s more, it helps wash away your unhappy smells, especially body odor.
Bathe with a bomb containing citric acid, a natural substance that reduces the effects of aging. That’s why many cosmetics contain acids. Easy to fetch fruits contain high levels of citric acid, such as lemons, oranges, and limes. So there’s no need to waste your money on anti-aging cosmetics products. Such simple methods can also leave your skin looking young and healthy.
Lastly, Organic bath bombs contribute to aromatherapy. Organic Bath bombs added with specific essential oils have a great effect on relaxation. Each of them is endowed with a unique scent which will quickly make you feel at ease. Either lavender or rosemary or any other scent, you can choose your favorite.
Here we are very glad to help you to make the recipe for those sensitive to citric acid. We recommend using cream instead of tartar.
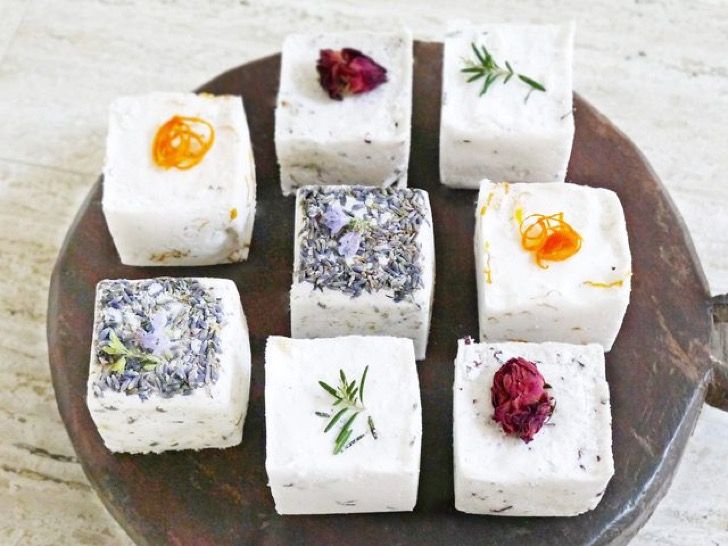
Bath Bombs DIY for sensitive skin (without citric acid)
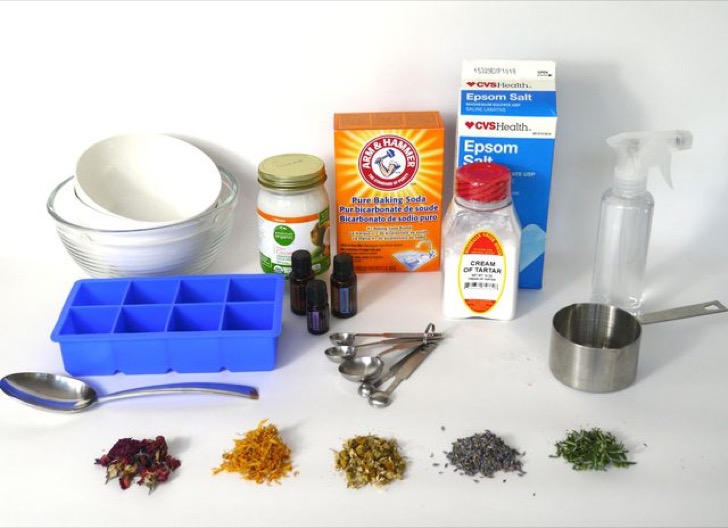
You will need these ingredients:
2 cups of baking soda
1 cup of cream of tartar (substitute for citric acid)
6 tablespoons of Epsom salt
Coconut oil (or olive oil)
Vanilla: dry lavender, chamomile, rose, calendula
Essential oil: lavender, wild orange, rose, calendula
Spray bottle filled with water
Mixing bowl
Spoon
Mold: silicone ice trays or baking tins
Note:
This recipe yields 8 large 2×2 inch bath bombs. It is ideal to make small batches as the fresher they are, the more effectively they fizzle.
Baking soda, cream of tartar are baking materials which are available in supermarkets
Epsom salt can relax the muscles, relieve stress, and detox
We will make 4 scented bombs here: lavender, chamomile, calendula and rose. If the smell does not appeal you, replace it with your favorite essential oil.
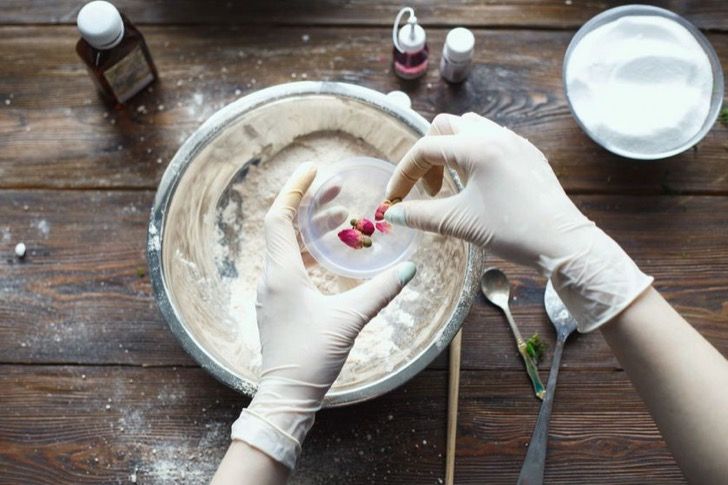
Step 1. Mix The ingredients
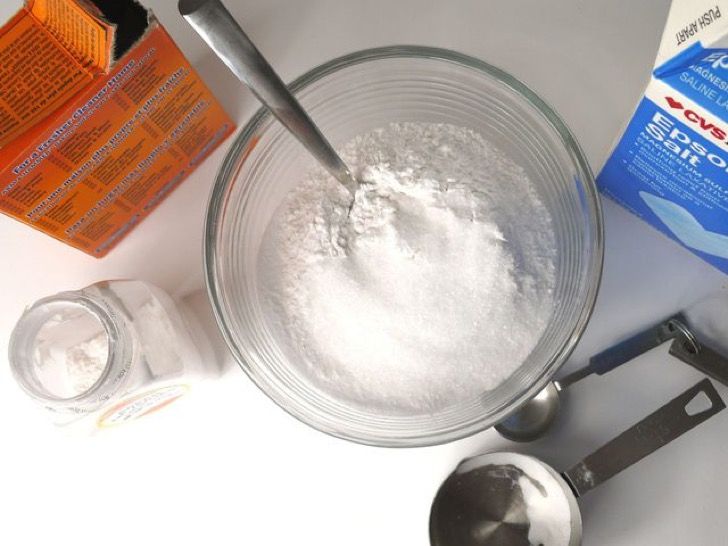
Combine baking soda, cream of tartar, and Epsom salt in a large bowl. Mix them well.
Step 2. Separate into Four Bowls
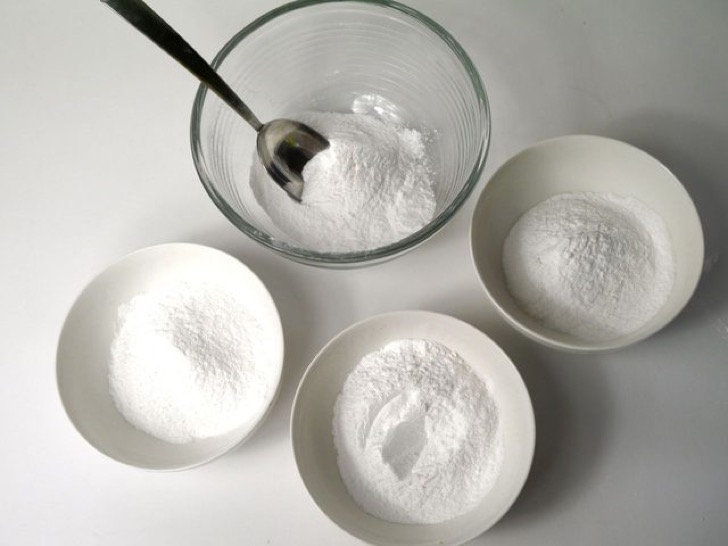
Divide the mixture and place them into 4 bowls.
Advertisements
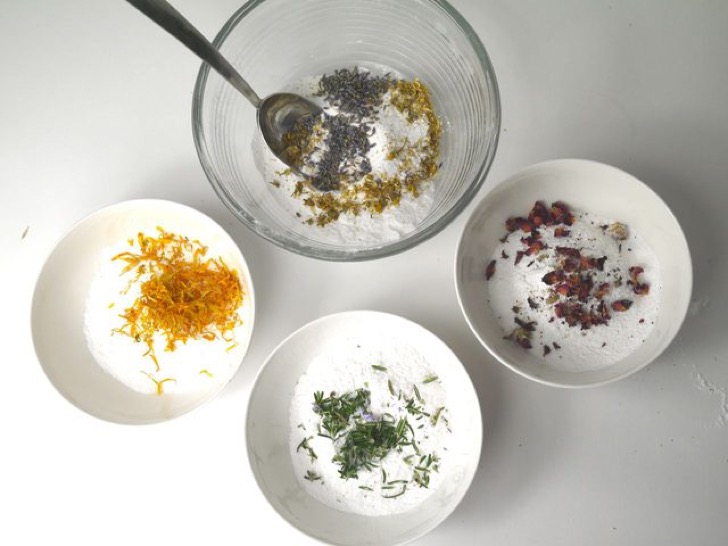
Step 3. Mix the Different Recipes
Each bowl is added with a single recipe.
Lavender for a relaxing bath: Combine 1 tablespoon dry lavender, 1 tablespoon dry chrysanthemum, 20 drops of lavender oil and two teaspoons of coconut oil (or olive oil).
Calendula for a healing bath: combine 1 tablespoon dry marigold, 15 drops of marigold essential oil, 10 drops of wild orange essential oil and 2 teaspoons of coconut oil (or olive oil).
Rosemary Peppermint for a clearing bath: combine 1 tablespoon dry or fresh rosemary leaves, 15 drops of rosemary essential oil and 2 teaspoons of coconut oil (or olive oil).
Rose bath: combine tablespoon dry rose petals, 20 drops of rose essential oil and 2 teaspoons of coconut oil (or olive oil).
Notes:
Remember that the bath bomb will eventually melt into the drain, if you do not want it to be clogged, try not to add large leaves. Crush petals, if necessary.
Step 4. Add the water
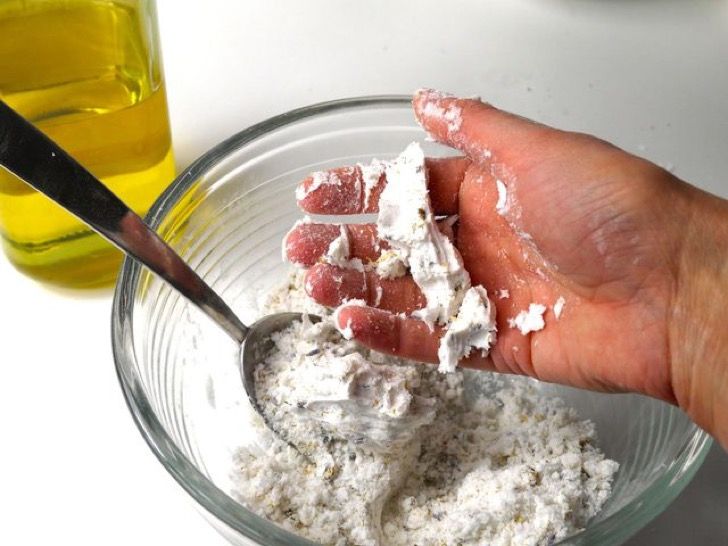
Add water little by little to the mixture. Squeeze some mixture in your hand and see how well they form or fall apart. If they come together, then you can already press the mixture into a mold or form shapes with your hands.
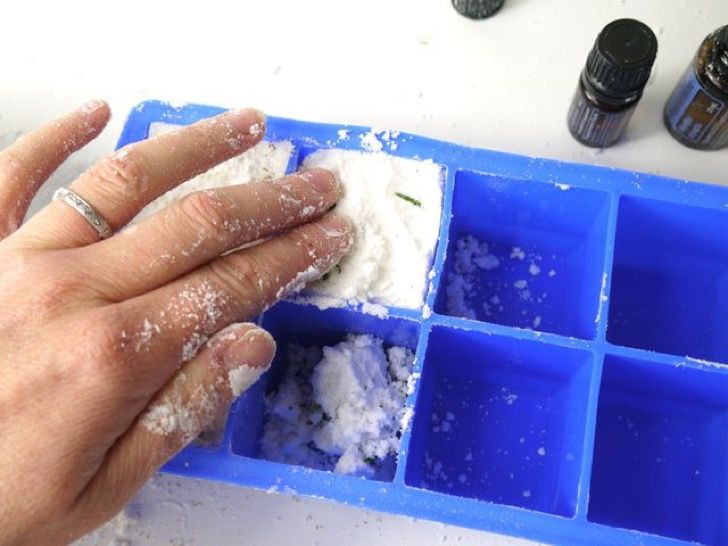
Step 5. Mold your bath bombs
You can decorate each bath bomb with dried flower petals. Add these decorations to the bottom of your mold before pressing the mixture in.

Step 6. Allow it to dry
Carefully remove the mixture out of the mold after 24 hours of drying and let the other side dry for another 24 hours.
Sponsored Links
Once you have mastered the art of DIY organic bath bombs, just add some more natural ingredients to have more fun and experiment as you like.

Comments